
Unlike LinkedIn’s Alumni search tool (which we have written about here), LinkedIn doesn’t provide an easy way for you to determine where you have the greatest number of connections.
Because let’s be honest, when mounting a job search, it’s very important to know “Where do I know the most people?”
We’re going to show you how to answer that question.
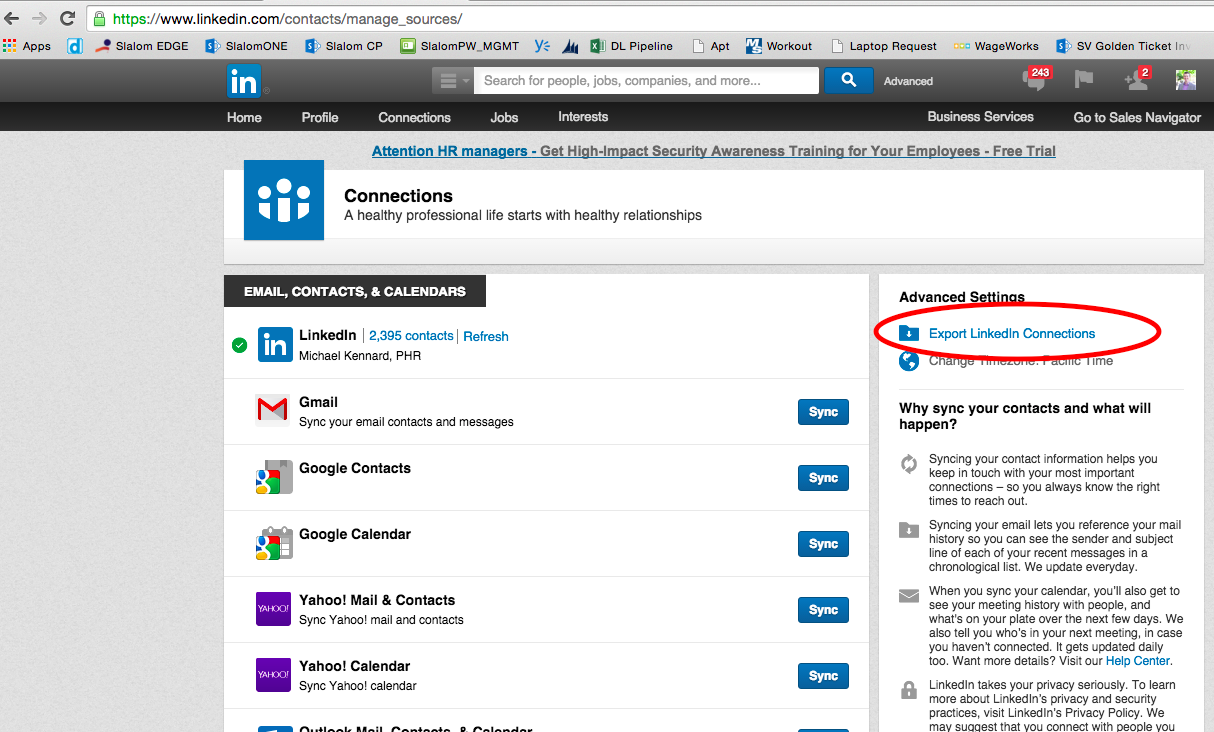
Step 1:Export Your Contacts
Home > Connections > Settings > Export LinkedIn Connections (right hand sidebar). Choose the Microsoft Outlook (.CSV) file.
Step 2:Open the data file in Excel
Step 3: Delete Superfluous Columns
All you care about is the person’s name, their email address, their company and job title.
Step 4: Format Your Data as a Table
(This option should be on the main Excel ribbon)
Step 5: Add a New Table Header: “Count”
What we’re going to do now is add a column where we can track how many times a company’s name pops up.
Note: While LinkedIn does a pretty good job of standardizing the names of companies, you might have to do a little bit of data cleanup. Give your spreadsheet a quick once over to ensure that you don’t have instances of “Joe’s Garage” and “Joe’s Garage, LLC” etc.
Step 6: Insert the Following Code
Look to see where your company header is. In my spreadsheet, is was under Column H, so I inserted the following formula in cell J2:
=COUNTIF($H$2:$H$2301,H2)
Where,
$H$2 = the first cell where a company name appears
$H$2301 = the last cell where a company name appears
Once I inserted that code, I dragged it all the way down to row 2301.
(highlight the J2 cell, hover the mouse over the bottom right corner of the cell – right click and drag it all the way down to row 2301 to copy that code into all the columns).
Note; it’s critical to use the dollar signs when doing this procedure.
Step 7: Sort Your Data
Now, Excel has gone through and populated the rows with the # of times that a company’s name appears. What we need to do now is to organize our data. First, we want to sort by “Largest to Highest”. This will put the companies that we know the most people at at the top. Then, we want to add a second level of sorting. This time an A-Z sort. This will group the companies together and make for a cleaner presentation of the results.

Step 8: Voila! You now know what companies you have the strongest network connections with!
Social Links: